Ever since the snow has melted I have been on a Garage organization frenzy! This afternoons project was a simple DIY garage lumber rack that I am thrilled to have up and functioning!
Want to build a DIY Garage Lumber Rack too? Follow the steps below:
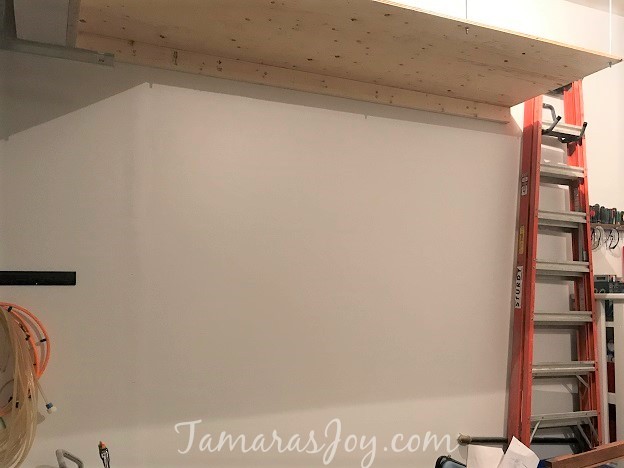
I found a space in my garage that would work well for my storage racks and marked the studs.
For my personal needs I decided to make my DIY garage lumber rack the width of three studs.
Then I used three 2by4’s and cut them to be all the same length before prepping them for the wall.
Mine are 5 feet in length.
Drawing a line across each board at one foot spaces made it easy to pre-drill my holes.
I Pre-drilled all my holes on the 2by4’s as well as the brackets I built. This way the wood didn’t split.
I also never added a screw to the very top of my board as I used one lag bolt at the top of each board. It was probably unnecessary but I had three bolts left and wanted them used up.
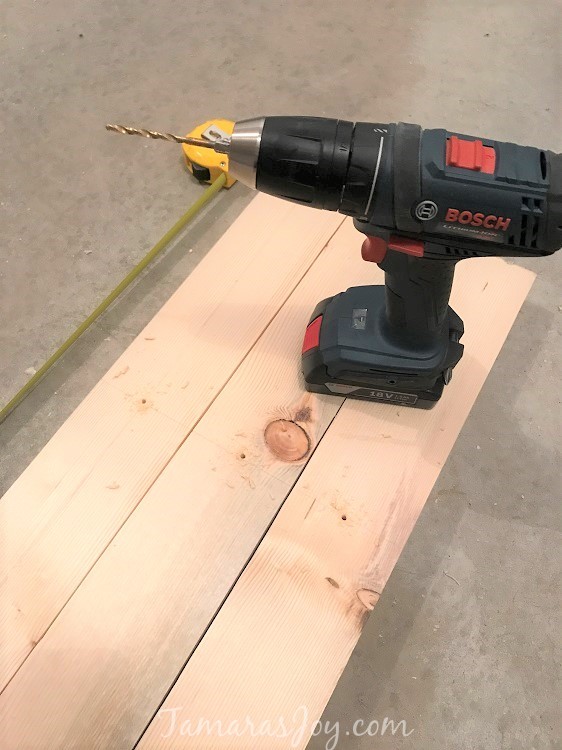
Before adding the boards to the wall I added all the screws.

You could use a ledger board along the bottom to make mounting your boards easier. I did not because I had a “ledger” board along the top that I used as a guide instead.
I used a level to make sure everything was straight before attaching to the studs.

Once I had the base of my diy garage lumber rack up I had to build the brackets that would be attached.
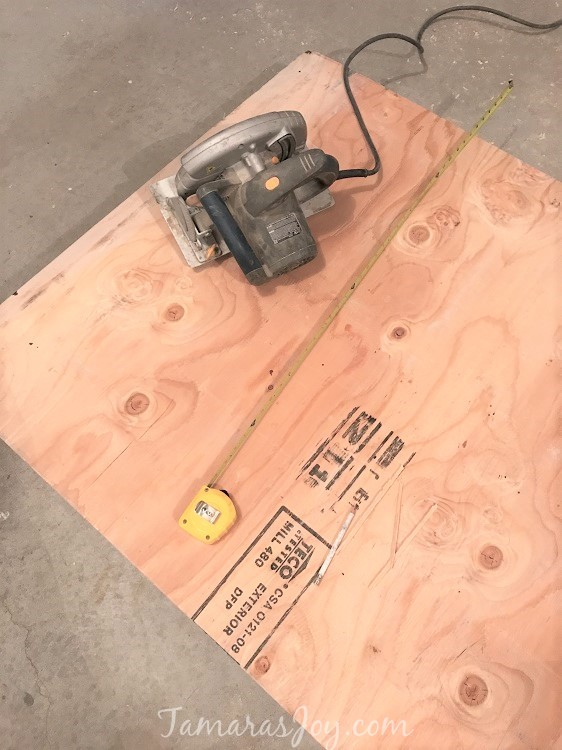
To make the brackets I used plywood cut it into 10 inch by 14 inch pieces.
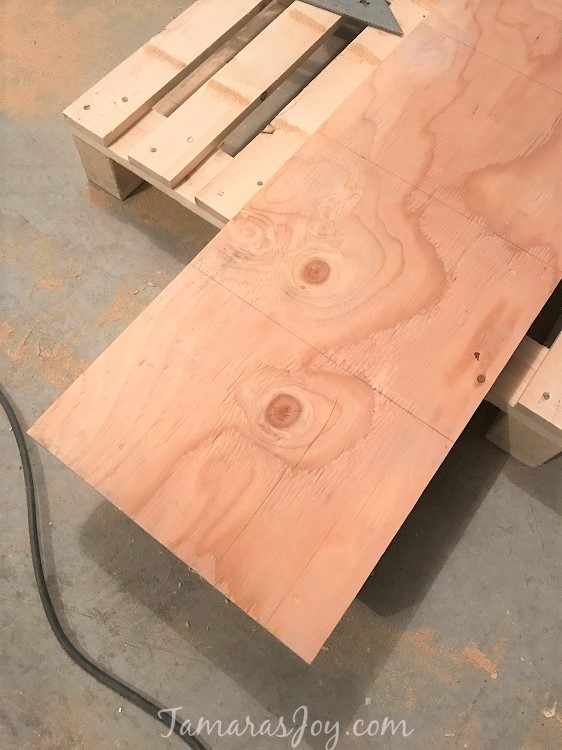
Then measured 1 1/2 inches up on each board. Top right and bottom left, drawing a line from point to point so I knew where to cut the boards.

This 1 1/2 inch space is important so they line up along the shorter 2 by 4’s that will be attached to create a bracket.
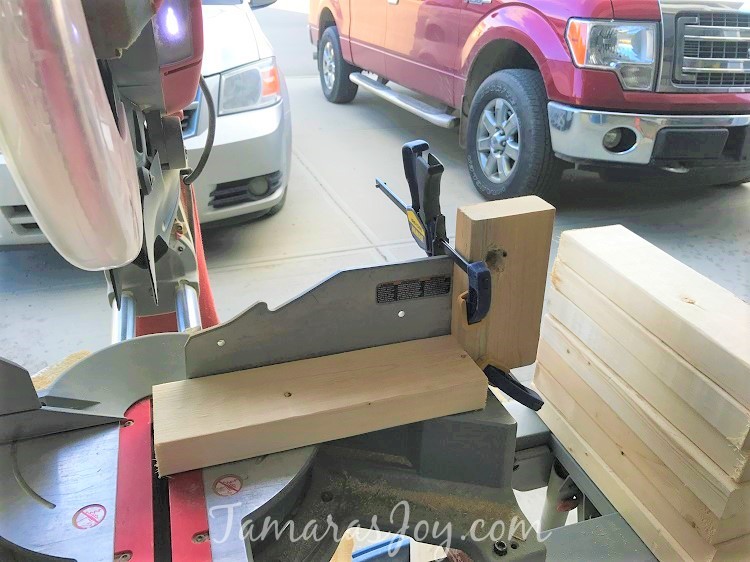
Once I had as many side pieces as needed for my side brackets (two per bracket) I cut enough 2 by 4’s to fit inside the bracket.
Using a stop block made these cuts speedy.
I cut all my 2 by 4’s boards a little under 12 1/2 inches. Hold the side piece up against the board you already attached to the wall and measure from the beam to the tip of the side piece. This is your “perfect” length to cut your 2 by 4’s by.
Now it’s time to assemble the brackets!
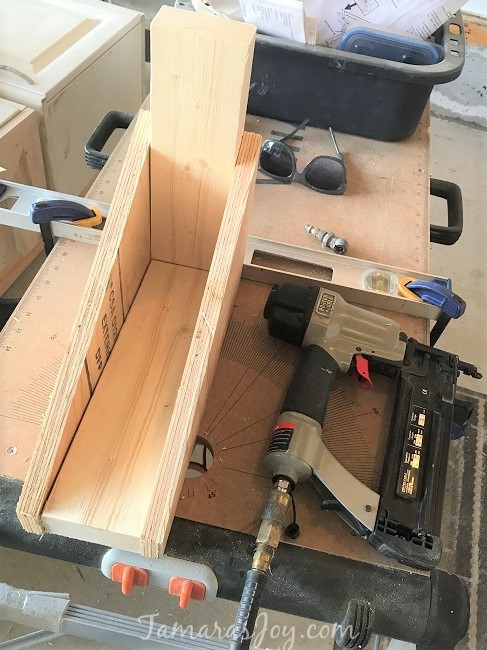
Using a scrap piece of 2by4 up against a flat surface (my level clamped to my workbench) I assembled the brackets first with a nail gun.
Once they were all temporarily assembled I pre-drilled holes and added the screws.
It took two screws per side to assemble the bracket and then two pre-drilled holes per side to help attach the bracket to the board that is already attached to the wall.

Once all my brackets were made it was a matter of marking where I wanted them and attaching them to the board that was already attached to the wall. I used a level to make sure each bracket was level with the next.
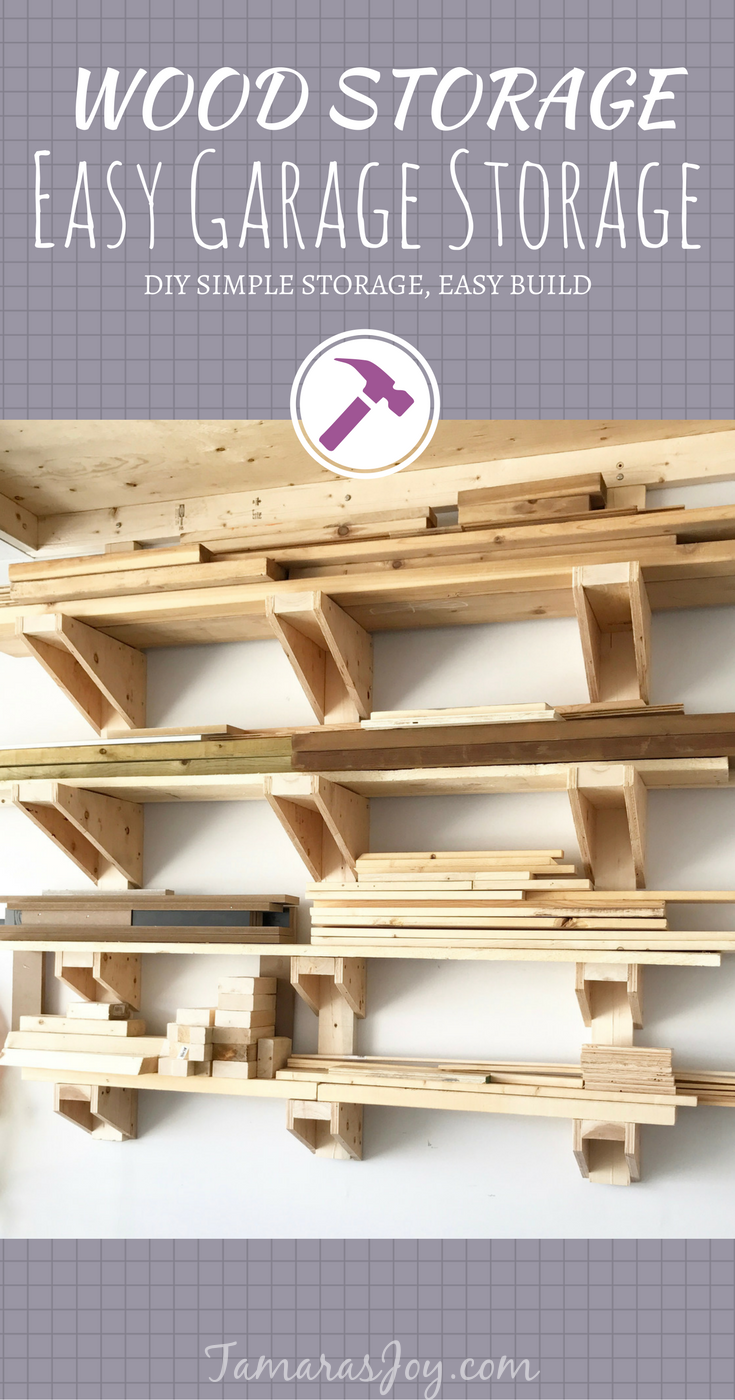
The top two rows of brackets in my photo are the size explained above. The bottom two brackets I cut to be half the size.
This is because I park my van there in the winter and need every inch of space I can get!

The final product is functional and so helpful!
If you want to watch a tutorial search “Garage Lumber Rack – Easy Cheap DIY Project” by homesteadonomics on You Tube. (It won’t let me link to it)
Please share this post by pinning this image:
Original article and pictures take http://tamarasjoy.com/simple-diy-garage-lumber-rack/ site
Комментариев нет:
Отправить комментарий